Introduction: Why Subdivision Surfaces Matter in 3D Modeling
In the world of 3D modeling, creating smooth, organic shapes while maintaining an efficient workflow is a constant challenge. Enter the Subdivision Surface modifier—one of Blender's most powerful tools that has revolutionized how artists approach complex geometry. Whether you're crafting characters, designing products, or creating architectural visualizations, understanding this modifier is essential for taking your 3D models to the next level.
Comparison between a low-poly and a high-poly Suzanne mesh in Blender using the Subdivision Surface Modifier (Catmull-Clark), shown in wireframe mode.
What Is the Subdivision Surface Modifier?
The Subdivision Surface modifier (often called "Subsurf" or "Subdiv" by seasoned Blender users) is a non-destructive tool that divides your mesh faces into smaller segments while simultaneously smoothing the surface. Think of it as a digital sculptor's best friend—it allows you to work with simple, manageable geometry while achieving professional-quality smooth surfaces.
The magic lies in its non-destructive nature. Unlike permanently subdividing your mesh, this modifier maintains your original low-poly structure, giving you the flexibility to make changes without dealing with thousands of vertices.
The Power of Non-Destructive Modeling
Working Smarter, Not Harder
Imagine trying to manually edit a mesh with millions of polygons—it would be a nightmare for both you and your computer. The Subdivision Surface modifier solves this elegantly by allowing you to:
- Model with low-poly geometry that's easy to manipulate
- Preview smooth results in real-time
- Adjust subdivision levels on the fly
- Maintain optimal performance during the modeling process
Applying the Subdivision Surface Modifier in Blender to a low-poly Suzanne mesh to create a smoother high-poly model
Blender Subdivision Surface Modifier panel with Catmull-Clark selected and advanced settings enabled, including Use Limit Surface and Use Creases
The Cage Concept
When you apply a Subdivision Surface modifier, your original mesh acts like a control cage. Each vertex, edge, and face influences the final smoothed result, similar to how control points define a curve. This relationship between the cage and the subdivided surface is what makes the modifier so intuitive and powerful.
Understanding Subdivision Algorithms
Catmull-Clark: The Smoothing Champion
The default Catmull-Clark algorithm is the heart of the modifier's smoothing capability. Developed by computer graphics pioneers Edwin Catmull and Jim Clark, this algorithm doesn't just split faces—it intelligently repositions vertices to create naturally flowing surfaces. The developers chose their formula based on aesthetic appeal rather than pure mathematics, resulting in surfaces that look organic and pleasing to the eye.
Simple Subdivision: When You Need Control
Sometimes you need more geometry without the smoothing effect. That's where Simple subdivision comes in. It splits faces uniformly without repositioning vertices, making it perfect for:
- Preparing meshes for displacement mapping
- Creating geometric patterns
- Maintaining sharp, angular designs
- Increasing resolution for specific technical requirements
Blender Subdivision Surface Modifier comparison: Simple vs Catmull-Clark applied to Suzanne monkey mesh with wireframe view
Essential Settings and Controls
Subdivision Levels: Balancing Quality and Performance
The modifier offers separate controls for viewport and render subdivision levels—a feature that's crucial for maintaining a smooth workflow:
Viewport Levels: Keep these lower (typically 1-2) for responsive modelingRender Levels: Set higher (3-6) for final quality output
Pro tip: Never set viewport levels higher than render levels—it wastes resources and can crash Blender on complex scenes.
Optimal Display: Streamlining Your Viewport
The Optimal Display option is a performance booster that shows only the original mesh edges, smoothed to match the subdivision result. While this speeds up viewport performance, many artists prefer seeing the actual subdivided geometry to better understand their model's final structure.
Blender Subdivision Surface Modifier: comparison of Optimal Display enabled vs disabled on a Suzanne monkey mesh in wireframe mode
Advanced Techniques for Professional Results
Edge Creasing: Selective Sharpness
One of the most powerful features of the Subdivision Surface modifier is the ability to maintain sharp edges where needed. By applying crease values to specific edges, you can:
- Keep architectural details crisp
- Define mechanical parts accurately
- Create natural transitions between organic and hard surfaces
- Add character details without excessive geometry
To apply creases, select edges and press Shift+E, then drag to adjust the crease strength. Values range from 0 (fully smooth) to 1 (completely sharp).
Blender Subdivision Surface Modifier: applying edge crease with Mean Crease value set to 1.0 on a cube to preserve sharp edges
UV Smoothing Options: Texturing Considerations
The modifier doesn't just affect geometry—it can also smooth UV coordinates. Understanding these options is crucial for proper texturing:
Smooth (Keep Corners): Best for organic models where texture flow mattersSharp: Ideal for architectural or mechanical objects with precise UV layouts
The choice depends on your texturing needs. Brick patterns, for example, often look better with Sharp UV smoothing to maintain their grid-like structure.
Topology Best Practices
The Importance of Edge Loops
Good topology is the foundation of effective subdivision surface modeling. Strategic edge loop placement allows you to:
- Control surface curvature precisely
- Define sharp transitions
- Maintain clean deformations for animation
- Optimize polygon distribution
A classic example is the subdivided cube—without proper edge loops, it becomes a sphere. Add strategic loops near the edges, and you maintain the cubic form while achieving smooth surfaces.
Blender modeling workflow: adding edge loops to a cube to control subdivision smoothing with the Subdivision Surface Modifier
Planning Your Mesh Structure
Before diving into modeling, consider:
- Where you need detail vs. smooth areas
- How the model will deform if animated
- The final subdivision level you'll use
- Performance constraints of your target platform
Common Pitfalls and Solutions
Normal Direction Issues
One frequent problem is inconsistent normal directions causing unexpected results. If parts of your mesh appear to subdivide differently:
- Select all faces in Edit Mode
- Press Shift+N to recalculate normals
- Check for internal faces or non-manifold geometry
Performance Optimization
High subdivision levels can bring even powerful systems to their knees. Optimize by:
- Using appropriate viewport levels (usually 1-2)
- Applying modifiers only when necessary
- Considering the Multiresolution modifier for sculpting workflows
- Utilizing GPU subdivision when available
Workflow Integration Tips
Quick Application with Shortcuts
Blender provides convenient shortcuts for rapid subdivision:
- Ctrl+1: Add modifier with 1 viewport subdivision
- Ctrl+2: Add modifier with 2 viewport subdivisions
- And so on up to Ctrl+5
These shortcuts are perfect for quickly testing how subdivision affects your model.
Combining with Other Modifiers
The Subdivision Surface modifier works beautifully with:
- Mirror Modifier: Create symmetrical models efficiently
- Array Modifier: Build complex patterns with smooth transitions
- Solidify Modifier: Add thickness to subdivided surfaces
Remember: modifier stack order matters! Subdivision typically works best near the end of the stack.
Blender modifier stack demonstration: applying Bevel modifier before Subdivision Surface to control edge smoothness on a cube
Real-World Applications
Character Modeling
Subdivision surfaces are indispensable for creating organic characters. They allow artists to:
- Sculpt with low-poly base meshes
- Achieve smooth skin surfaces
- Add detail only where needed
- Maintain animation-friendly topology
Product Visualization
Industrial designers use subdivision surfaces to create sleek product designs with perfect curves and transitions. The ability to maintain sharp edges while smoothing others is particularly valuable here.
Architectural Visualization
Modern architecture often features flowing, organic forms. Subdivision surfaces help create these complex shapes while maintaining precise control over structural elements.
Conclusion: Mastering the Art of Subdivision
The Subdivision Surface modifier is more than just a smoothing tool—it's a fundamental component of modern 3D workflows. By understanding its capabilities and limitations, you can create professional-quality models efficiently and effectively.
Remember these key takeaways:
- Start with clean, well-planned topology
- Use edge creasing for selective sharpness
- Balance viewport and render subdivision levels
- Consider UV smoothing options for texturing
- Practice non-destructive modeling techniques
As you continue your Blender journey, the Subdivision Surface modifier will become an indispensable tool in your arsenal. Experiment with different settings, study professional models, and most importantly, practice applying these concepts to your own projects.
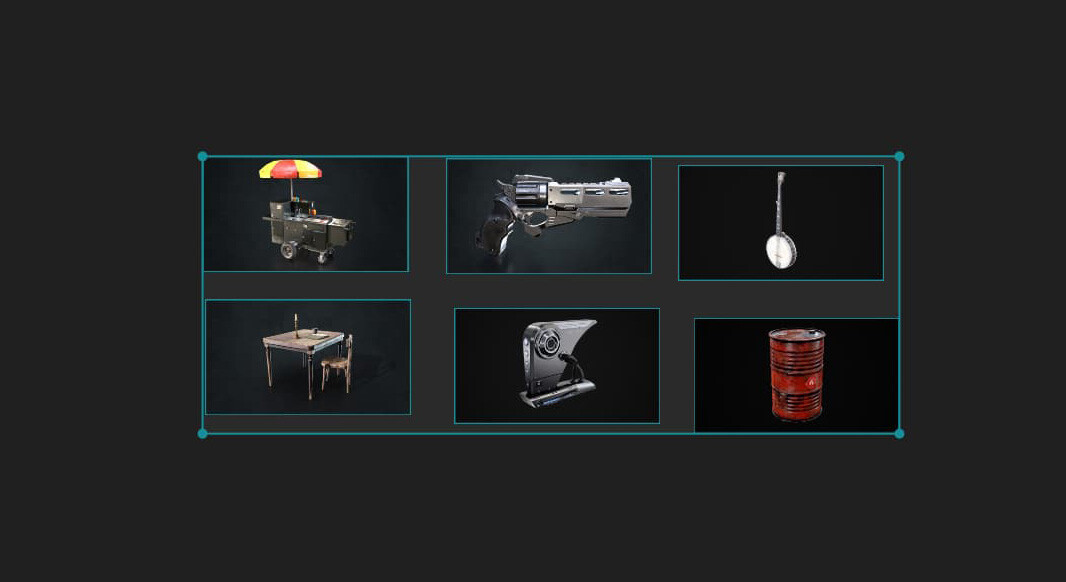
If you’re ready to enhance your own game or VR/AR projects, I invite you to explore additional optimized assets, including HDRi Maps, PBR Textures, and Game Props, on my Artstation Store or visit my official website at 3dskillup.art.
Stay tuned for more tips, insights, and resources designed to help you create stunning, game-ready 3D content.